Napoleon Dynamplifier
I changed the motherboard of my PC a few weeks ago and one problem I have is that the audio line out signal is not amplified. I have this connected to a pair of massive 4 Ohm HiFi speakers which I found in one of the flats I rented. The speakers are not amplified, which is quite annoying as at maximum volume they are still very quiet. The previous board had a software controlled switch to flip the line out to speaker out. The speakers come with speaker wire leads, which I just twisted to the exposed wires from an old broken pair of headphones (a proper there, I fixed it job). Every so often I would crawl under the desk to re-twist them when I accidentally kick them free.
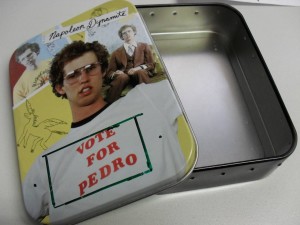
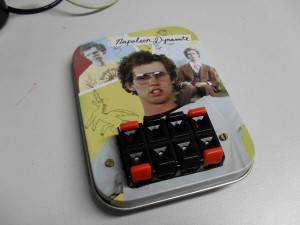
So making a small amp would fix two problems in one go. I was looking around the office for a nice box and here is one I found.
Sorry Pedro, but this amp is more important than your election. I was planning on stabbing a hole though the metal, but Dave insisted that stabbing things is not allowed due to health and safety rules. Instead he drilled the holes I needed.
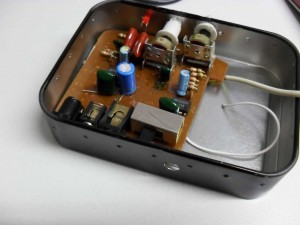
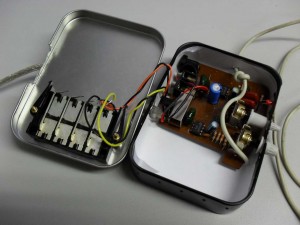
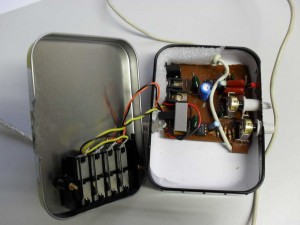
The circuit is an amp from a a small computer speaker set I had. It is based on two KA2209 chips. I could have made my own, but this one was perfect. These can take quite a bit of punishment. They work from 3V to 15V and use very little power. At 5 volts the board was drawing 30mA. At one point I wired the power and ground the wrong way and the ICs pulled 3 amps, getting incredibly hot in the process. After I corrected the power I was quite surprised to find no damage was done.
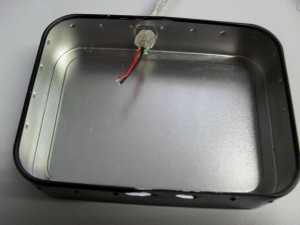
The holes were relatively easy to expand by rotating a pair of pointed tipped pliers inside.
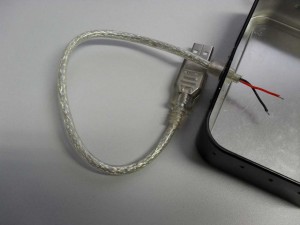
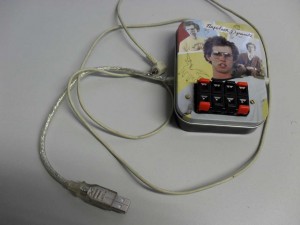
For power I used a USB cable I had from a broken PS/2 to USB converter. USB should give you 100mA without asking, and here we are well within this limit. Most hubs will give the maximum 500mA without any negotiation.
I could only find an eight port spring clip speaker wire connector block. Maybe I will expand it to an 4 speaker system later.
The metal case is not ideal as you have to insulate it from the board, here done with a piece of paper. I forgot to ask Dave to drill a hole for the audio cable, and I fancied using my stabbing approach without telling him. The method I used was taking a drawing pin and, using my thumb, pushing it through the metal sheet. It actually worked. It is a weird feeling being able to push one metal though another. That’s what it must be like to be a Terminator. You can then expand the hole with a cross head screwdriver.
A bit of foam to wedge the board in place and stop it from moving (it was coincidence that it was such a close fit).
The USB cable is a little short but that can be fixed with a USB extension lead (plenty around). I’m now gonna use it for whatever I wanna use it for! GOSH!
Great… very creative DIY project..
congratulation.. :)
Great..
Could u give the circuit diagram of your amp..??
can you give me the diagram, please
Hi,
Can you give the list of electronic parts so I can do the same…
Thanks and regards,
Albert