Archive for the ‘ Food ’ Category

TexMex evening

Sorry about the delay but, finally, here are some photos from the TexMex evening.

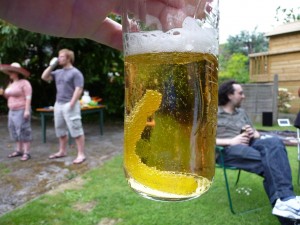
You know it is going to be a silly night when your drinks acquire worms from the very first bottle.

Will proudly placed himself in charge of making the margaritas. These were incredibly strong (and personally quite horrid).  Strange that we managed to get though three bottles of tequila, yet we still had plenty of limes. I suspect Will was not sticking to the correct measures.

But still he managed to find a steady stream of willing victims.

http://brej.org/blog/wp-content/uploads/2010/06/tux_pinata

And the there was the Tux piñata.

Tux will be remembered for his bravery in the revolutionary cause (and for sharing his sweets).

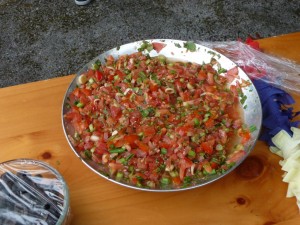
But the point of the night was the food. Lots of it. This is just one of the many bowls of salsa I spent four hours chopping.

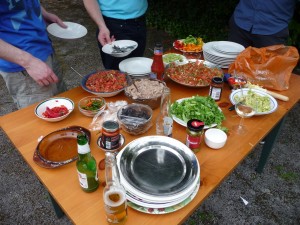
This is only about half the food items. Shame I have no photos of the table when full as it was literally brimming with food. This was the first course of wraps and tacos.

This was followed by chili con carne (two types), expertly carried by Mai Anh (who also deserves thanks for helping me make the guacamole too).

All together there were 35 people there which is a personal record. I even invited some of the better students round to try and bully them into doing something amazing over the summer.

Here is a misbehaving pair of banditos.

Sadly this was a photo taken while I was carrying Tux to the bin for his un-ceremonial funeral.

The brave little lappy managed to play Mariachi music for some 5 hours without dying (note the Dynamplifier).

And the final course was the nachos, which were indoors as it was very dark outside by that hour. Because we run out of salsa I (foolishly considering the drinks Will forced me to have) decided to chop up some more. Thanks to John for taking that job over while I tried to stem the bleeding.
Tux piñata

Following the success of the Indian night. I am hosting a TexMex party.As the party invitation points out “I have never been to Mexico, but I have been to Texico and I have watched a lot of Speedy Gonzales, so I imagine it is a bit like that”. So apparently one thing people have at Mexican parties is a piñata. I have never seen a piñata in real life so this is completely guess work as to how to make it.

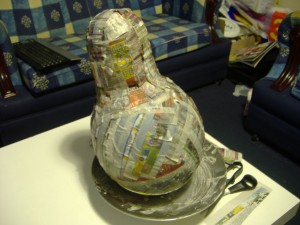
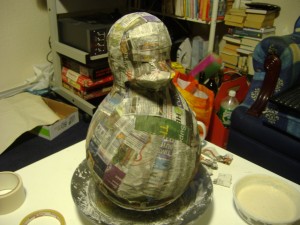
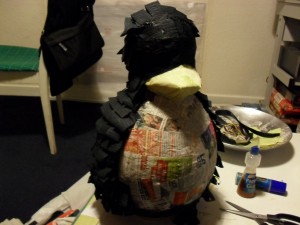
The body is make of papier-mâché. I was hoping to a baloon the exact right shape, but instead I had to go for a large balloon for the body, and a second balloon for the head. I covered the body balloon from all sides but the base, then turned it upside down and placed the smaller balloon on top and started placing more and more paper strips to stick the two baloons together. You really need three hands for this task.

After the first layer, I let it dry in front of a fan for a couple hours before adding the second layer including a beak make of card. There were 3 layers all together. I used the flour water glue mixture, of which the second batch worked a lot better as it was a bit thicker. This is the end of day one, as it then takes about 24 hours to dry completely.

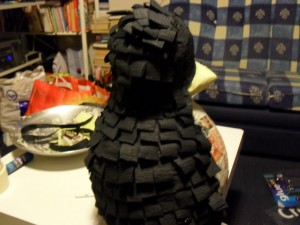
Then it is onto the crate paper. I found the easiest way was to get a full folded roll of the paper, cut it lengthwise into two and add cuts to make the loops. Then draw a line of liquid paper glue and stick the strip to it.

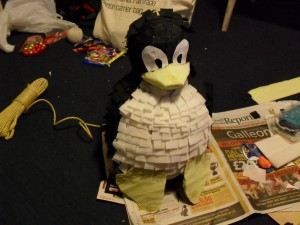
Work from the bottom up, otherwise each strip gets in the way of the last. Also I kept some areas fur free, in the bottom and the face. Here I glued a single layer of black crate paper. For the beak, that needed about three layers to not show the text under it.

At this point, I did the surgery to add fill the penguin and attach the rope. I was worried that the rope would just rip the head apart, so I tied it to a pencil and fed it though a hole in a CD. That distributed the force around a ring in the head. At one point the back caved in a little, but with the weight of the sweets inside, it was possible to push it back out.

Then finally, attach the wings and feet. I punched two holes in the body and the wing/foot and used coloured cable ties. These work very well as you can trim them off.

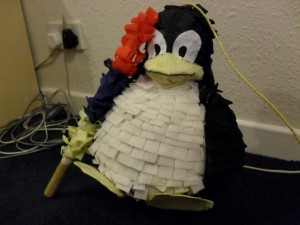
Add a decorated hitting stick, and there you go, a Tux piñata. I’ll shall see tomorrow if it works.

UPDATE: Pictures and video of the party including Tux.

Tortilla samosas

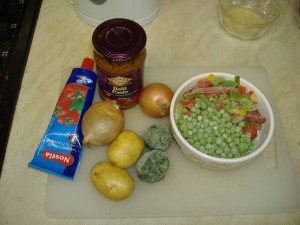
Ingredients

The great thing about this recipe is that I always have of these ingredients in the house. You can put anything you like into these but potatoes and peas are a must. The other filling ingredients I used this time were peppers (frozen since they are going to be cooked anyway), onions (a curry staple since they will make it a little sweeter), spinach (that’s the two frozen green things next to the potatoes), tomato puree, curry paste and (Balti is the most versatile one in my opinion). The shells are simply tortillas and you will need an egg or flour/water mix to stick them down. I have used filo pastry before, but I picked up using tortillas from the hairy bikers, and it works great.

For curries, I alwaus try to use as many frozen things as possible. The cellulose is broken down in them, so they release more flavour and absorb more. Secondly, you can use as much as you want and leave the rest for next time. If you have any filling left over, freeze it. I guarantee you it will be even better the second time round (especially the potatoes). Using the curry paste is also recommended. Dry spices do quickly loose their strength and having jars and jars of them makes sure they sit there for years at a time. The paste suspends everything in oil, so nothing escapes. Also you will be getting a fresh jar every 3 meals or so.

The filling

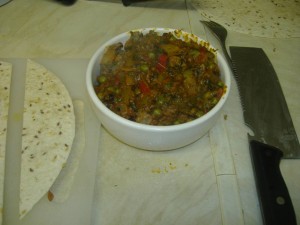
The potatoes are the thing that take the longest cooking. I tend to chop them into small cubes and boil them in a separate pan. Not sure why, but they never go soft enough when cooked in the curry sauce. In another pan, gently fry the onions. When soft and transparent, add the other ingredients (they don’t need to be fried). Add a little water to make it workable. Simmer for a 10 minutes, then add the now softened potatoes and simmer for a little longer so they soak in the spices. Ideally if you cut a cube in half, it will have the colour permeating nearly to the centre. At this point you have a strong dryish curry with fine chopped ingredients.

The wrap

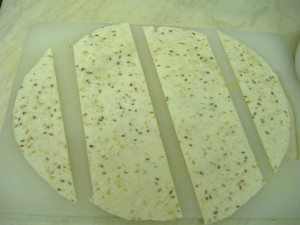
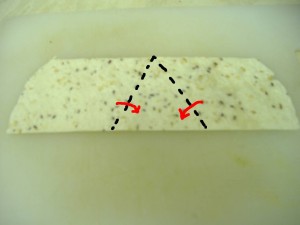
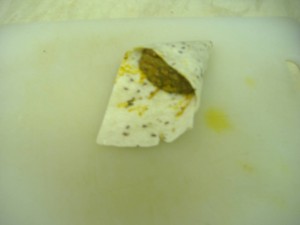
I should mention, here I bought some fancy tortillas with seeds and the like, only because they were on offer. Take the tortilla, cut into three like in the image below. The two side pieces can go to feed any vermin you have in your garden. The middle two are the ones we want.

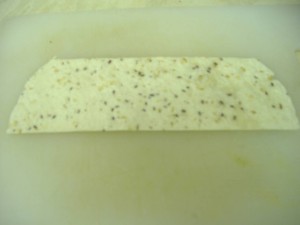
The two slices have a long side and a short side. (the long side is on the bottom here)

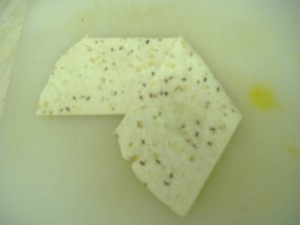
Fold towards the longer edge. (note the staining ability of curry)

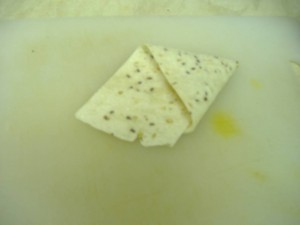
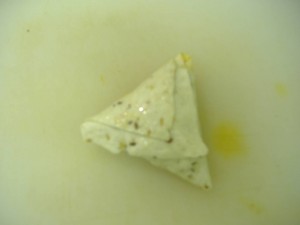
Then fold the other side over.

Here is a diagram to make it simple. The more geeky amongst us will notice that all the angles are 60°.

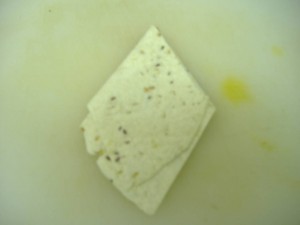
If you turn over, you have a lovely cone.

Now fill with the mixture.

Use the egg-wash to stick it down. The tortilla ones are pretty good at not opening themselves, the filo are more of a pain. Pinch any corners that are too open, down with a little more egg.

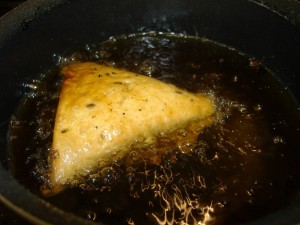
Now to the frying. These want to be deep fried. I say want as you can also bake them. Remember those side tortilla strips that you threw out to the birds? Go back outside and wrestle a squirrel for one of those back. Drop half the strip into a pan of hot oil. The oil should be got enough that it bubbles, yet it doesn’t discolour the tortilla straight away. Probably around 150°C.  If it has been frying in the oil for two minutes without turning too brown, then it is a good temperature. Fry the samosa for about 2 minutes. If you tap them with a fork and they are hard, and they have turned more golden, then they are done. While one is frying, you can make the next one.

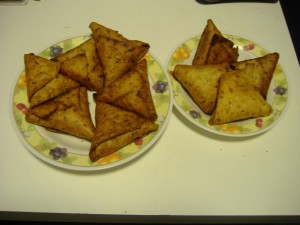
Allow any excess oil drip out before eating. I made two types, the veg ones like described, and meat ones which are the same but with pork mince. I think they are best when still hot and crispy with sour yoghurt (i.e. a week past it’ sell by date, the perfect point of sour yet probably wont kill you just yet).

Very cold indeed and some bits and bobs

The cold

It has been somewhat cold recently here in the UK. Woke up today to find that I couldn’t see outside.

That is frost, but on the inside of the window. I am currently sleeping under two duvets and getting up is not pleasant experience.

Even what looks like condensation at the top of the window was completely frozen. Would be nice to have double glazing.

More fedora icing

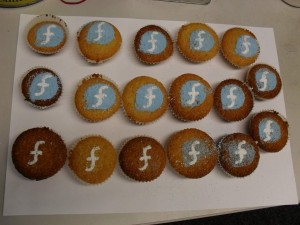
I forgot to post the sprinkled sugar cupcakes I made a few months ago for the release. These were made using a paper cut-out template and then dusted. I should have made more blue icing sugar. I found the best way to make it was using a small resealable plastic bag. Add the icing sugar and a little blue dye. Then squish the lumps with your fingers until it is dry and fine.

Take that GDM!

It is a shame, but at the university there is somewhat strong resistance to the concept of a graphical login. Here is what the students see when they come to log into a machine. It will look even more silly on high resolution monitors with KMS graphics where the ASCII art occupies a small section in the upper left.

Christmas meal

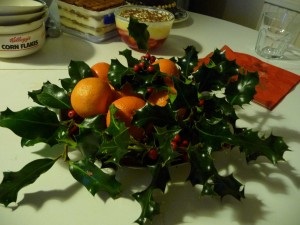
Asked Andrew to bring his camera, but was so busy cooking that I forgot to ask him to take photos of the food. As usual, the starters were the easiest part of the meal to make, and the part most people liked (Bruschetta and other things on toasted breads). Here is the holly I nicked from someone’s overgrown hedge (no damage done, I promise).

I was quite impressed with this years Christmas beard that I grew. Looking forward to Jan 1st to shave it all off though, it is very annoying now.

Here is Basab and Luis in the background. There were just 6 of us this year, about a third of what we had last year.

Christmas meal preparation

Sainsbury’s and Ice

I felt a little bit cheated by Sainsbury’s yesterday. On one of my visits, I received a voucher which doubles the nectar points on one visit before Christmas day. So I got a lift from Sooty in her car to the place, spent £112.49 on food shopping, handed over the point doubler voucher, left grinning at having pulled one over Mr Sainsbury by using it on a massive shopping spree. Then sat down and realised that that saved me barely over a pound. That was dumb, should have gone to Aldi like I normally do, I thought. Normally I wait for Sooty to go home for Christmas, then I do about four trips to Aldi/Lidl with a massive backpack and bags. But then today I went back to the shops to pick up some things I forgot. The walk was the most stressful thing for years. The paths were so icy that I was completely exhausted by the time I got there, having nearly died several times, never-mind walking back with full bags.

Desserts

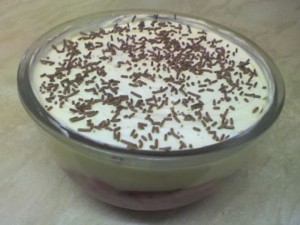
I have now finished the desserts. This year’s plan is to have all the desserts pre-made as by that point in the evening I have alcohol induced clumsiness.  This year’s desserts are (sorry about the quality of the pictures, I left my camera at work, so these are from a phone):

Trifle, standard affair, with fruit in the jelly but no sherry.

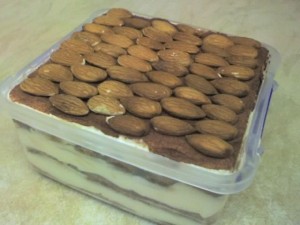
Tiramisù, made with camp coffee and dark rum. Very easy to make especially in the Tupperware box which makes storage simple (so little space in the fridge).

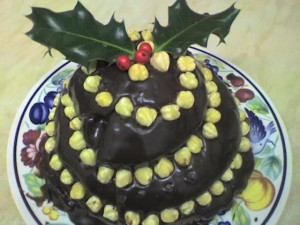
And finally a “chocolate cola cake”. This is your standard four layer chocolate cake affair, but it contains cola (sugar based one to be safe) . I tried some crumbs earlier and it does have some interesting unexplainable taste. Will have to wait till tomorrow for a proper try.

More pictures of other noms tomorrow.

Fedora icing

The Fedora 12 release is coming up and I wanted to make some special icing for cupcakes for the release day. This is my first time working with icing sugar so it is mainly based on guess work.

Instructions

In all steps, make sure everything is very dry. Icing sugar sticks to anything with the slightest moisture.

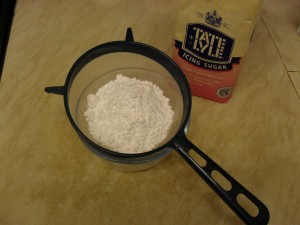
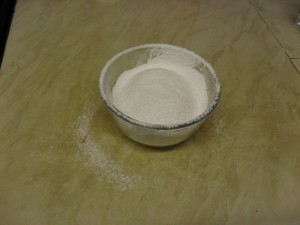
Sift the icing sugar. It occupies a lot of volume but here is only about 200 grams.

icing1

My flat mate calls the bits around the edges of the bowl “making a mess”. I call it “preparing the surface”.

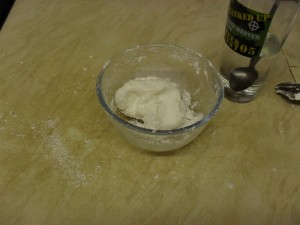
icing2

Drop one teaspoon of water into the sugar and work into the mixture with a fork. Don’t use your hands as it will stick. Keep adding tiny amounts of water, eventually a drop at a time until the mixture is blended.

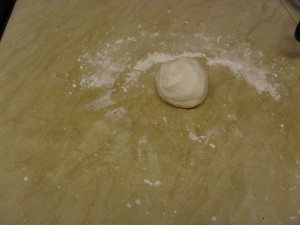
icing3

Once it is all in one lump, and it is not too sticky, you can finish kneading it with your hands. Remember the surface should be very dry. The sugar on the surface is just there to mop up any moisture. If it is too crumbly, make a pit in the middle of the ball, add a drop, close it up and hope it doesn’t reach the outside before blending. If you put it on the outside it will stick to everything.
icing4

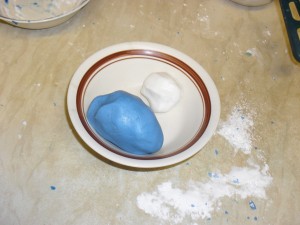
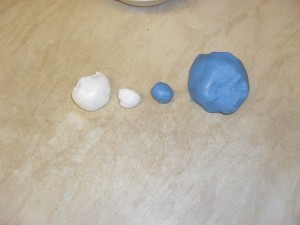
Take three quarters to a separate ball. In a bowl, blend about 2ml of blue icing dye and more sugar, until it has a similar consistency to your original ball. you may have to repeat the process to make it more blue.

icing5

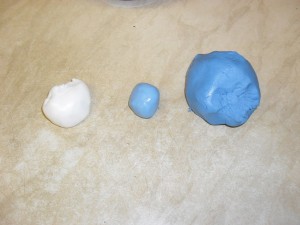
Take a piece of the two balls, and blend together.

icing7

To get a good in between blue I needed to use two parts white to one part blue.

icing8

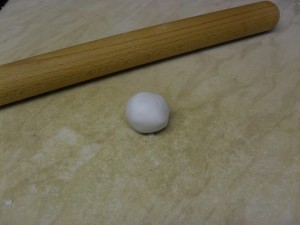
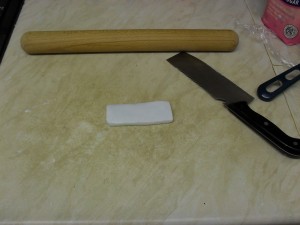
Now all the balls are finished, onto the shaping. Here is an example with the white. You can see my rolling pin in the background. Don’t use it, it messes things up.

icing9

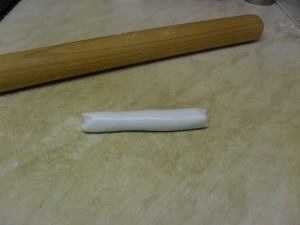
Instead roll out to make an icing sausage.

icing10

Then use a flat edge to press it down into a rectangle. I used my clever. Use the same flat edge to pat the sides into a neat rectangle. It needs to be longer than the one shown.

icing11

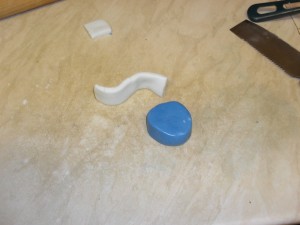
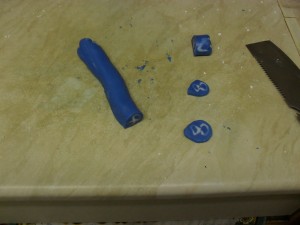
Cut a piece off the end for the cross . You can see how it forms the Fedora f. You also need: cylinder (like one below) cut it into four, two dark blue strips same size as the white one, a two thirds length light blue strip and some left over dark blue icing.

icing12

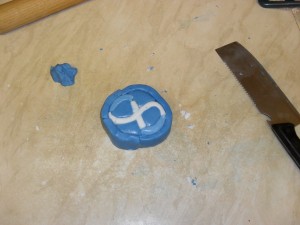
Two of the cylinder slices need to have their corners rounded to make tear drop shapes. Time is of the essence here as you don’t want parts to dry out while you are making others. Start with the tear drops and curl the white around them. Add the small white and light blue strips. Add the two remaining cylinder slices and smooth them to the infinity symbol. Finally, surround the whole thing with the two blue strips (if it was one strip it would crumble).
icing13

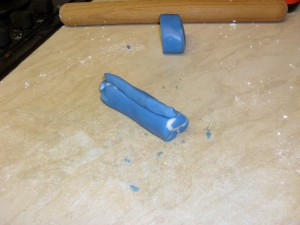
While it is still warm, you can start stretching it. Start by squeezing the whole thing between your hands from all sides until it becomes sufficiently long to roll. Then start rolling it very slowly, evenly and gently (this is not dough, no long starch and protein strings). Here I cut it into two as I wanted two different sizes. Once it is the desired size, form a small strip with the left over blue and continue rolling back and forth without destroying the ridge.

icing15

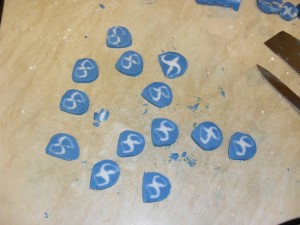
Don’t do what I did and cut them straight away. Put the whole roll in the fridge for 10 minutes to let it firm up. The ones at the ends will be somewhat malformed.

icing16

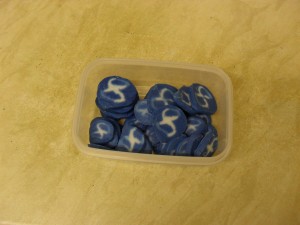
You can see that they become misshapen if you cut while it is still soft, but they are easy to reshape. Don’t leave them on the work surface, get them onto some tin foil and into an warm oven to dry out. An hour at 50 degrees Celsius made them sufficiently crumbly to make them not stick together in a storage box.

icing17

These will last forever so long as they don’t get wet. You can have them in their crumbly state stuck into ice-cream, or add a few drops of vanilla essence which will make them soft on top of a cupcake.

icing18