Plymouth theming guide (part 2)
The first part of guide showed how to set up the system to be able to view plymouth themes and make simple adjustments to ones that are already present. This part will show how to make a custom theme, without delving down to the level of writing C.
One of my targets for this year was to add a simple way of designing themes without having to worry about many low level aspects (redrawing parts of the screen, keeping pointers to all elements to free them etc). The scripting language allows the designer to get stuck into the design, while the system is already optimised to take care of and minimise the areas to be refreshed. It is now quite stable and this is the method used by Mandriva for their default themes.
The following walk-though will show you how to make a small example splash. This part should be very easy and even if you have never programmed before, you should have no problems. First download and install the template:
wget -O /tmp/mytheme.tar.gz http://brej.org/blog/wp-content/uploads/2009/12/mytheme.tar.gz
cd /usr/share/plymouth/themes/
tar xzf /tmp/mytheme.tar.gz
Now the theme is installed, and you already have a system set up like explained in part 1, you can switch to it:
plymouth-set-default-theme mytheme
and then test it:
plymouthd --debug --debug-file=/tmp/plymouth-debug-out ; plymouth --show-splash ; for ((I=0;I<10;I++)); do sleep 1 ; plymouth --update=event$I ; done ; plymouth --quit
Notice this time some debug information is generated and the file /tmp/plymouth-debug-out contains more. The debug information is useful to find any syntax errors in your script. It is a good idea to keep a text editor with this file open and revert to saved after every execution to watch for any errors. A syntax error contains the line and column number of the expression like so:
Parser error "/usr/share/plymouth/themes/mytheme/mytheme.script" L:8 C:42 : Expected ';' after an expression
In the mytheme directory there is a file named mytheme.script. Open this using your favourite text editor. At the top of the example script, there are some lines which create the theme, and below this are sections which control the password dialogue, progress bar etc. You should leave things below the dialogue line alone for now.
Lines starting with # are comments, so lets skip to the first two executed lines:
flower_image = Image("flower.png");
flower_sprite = Sprite(flower_image);
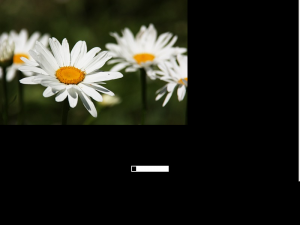
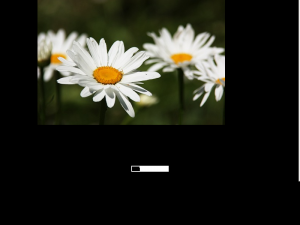
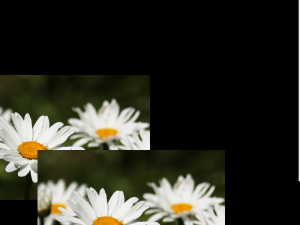
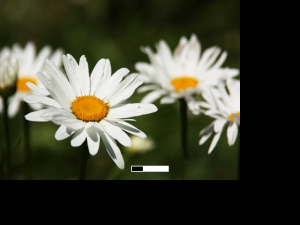
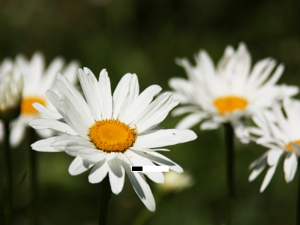
In the mytheme directory, you will notice some images. One of these is flower.png (from Nicu CC-BY-SA), which the first line loads. The loaded image is assigned to flower_image, which can then be used by sprites. A sprite is an image with a position on the screen. The second line creates a sprite using the flower image. By default this is placed at X=0, Y=0, which is the top left of the screen. To change the position of the sprite use the SetX and SetY functions on the sprite. Adding the following line will move the sprite to 100 pixels to the right.
flower_sprite.SetX(100);
In a similar way, setting the Y position will move the image down the screen.
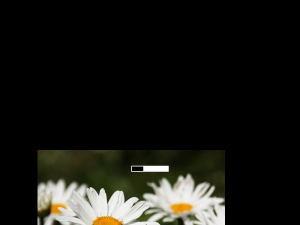
flower_sprite.SetY(400);
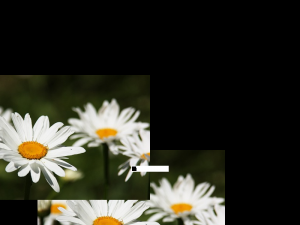
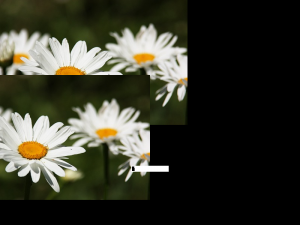
Notice there is no problem if the sprite runs off the edge of the screen. Also notice how the progress bar is on top of the flower sprite. The sprites have a defined order of which is on top. To demonstrate this, lets add another sprite. You can reuse the flower image and place it overlapping with the original flower sprite.
other_flower_sprite = Sprite(flower_image);
other_flower_sprite.SetX(-100);
other_flower_sprite.SetY(200);
Negative coordinates are acceptable. The new sprite will be placed on top of the previous one. To override this, each sprite has a Z value. The higher the Z value, the higher up the stack the sprite is (drawn on top of others). To place the original flower sprite on top you set its Z value to be higher. The default Z value is 0, and you can set it using SetZ.
flower_sprite.SetZ(10);
Now not only is the original the sprite above the other, it is also above the progress bar, which also has the Z value set to 0. In general, wallpapers should have Z set to high negative values to force them to the very back and the password dialogue has a Z value of 10000 to place it on top of any theme components. Thus, make sure you don’t place any sprites higher than 10000, otherwise you may find it difficult to type in your password.
Lets take the sprite back to the background and reposition it. Often you want to set X, Y and Z at the same time. This can be done using the SetPosition function.
flower_sprite.SetPosition(0, 0, -10000);
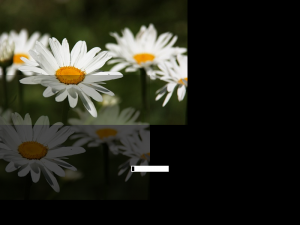
As well as the X, Y and Z values, the sprite also has opacity. The default setting of 1 makes the sprite solid. Values between 0 and 1 make the sprite partly transparent. This can be set using SetOpacity.
other_flower_sprite.SetOpacity(0.3);
Setting this to 0 will make the sprite invisible. This should return the display the original setup.
other_flower_sprite.SetOpacity(0);
The image of the flowers is very nice, but it is the wrong shape and size. You could distribute an image for every possible screen resolution, but this would be terribly space consuming. Instead you can scale the image to suit your needs. A new scaled image can be created using Scale and to change the image the sprite is showing, use SetImage.
resized_flower_image = flower_image.Scale(640, 480);
flower_sprite.SetImage(resized_flower_image);
Here the image is scaled to 640×480, but this is not the screen resolution. For now, assume there is only one monitor connected (I will explain more about this later). To get the width and height of the screen, use Window.GetWidth() and Window.GetHeight(). You can use these to scale the image to the screen dimensions.
screen_width = Window.GetWidth();
screen_height = Window.GetHeight();
resized_flower_image = flower_image.Scale(screen_width, screen_height);
flower_sprite.SetImage(resized_flower_image);
Now the image is scaled to cover the whole screen, but is the wrong aspect ratio (although that is difficult to see in this example). Correcting this will require some programming which will be shown in the next part of the guide.
