Fedora icing
The Fedora 12 release is coming up and I wanted to make some special icing for cupcakes for the release day. This is my first time working with icing sugar so it is mainly based on guess work.
Instructions
In all steps, make sure everything is very dry. Icing sugar sticks to anything with the slightest moisture.
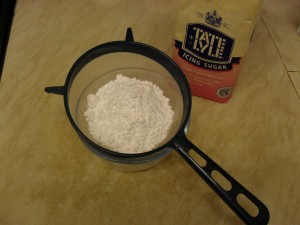
Sift the icing sugar. It occupies a lot of volume but here is only about 200 grams.
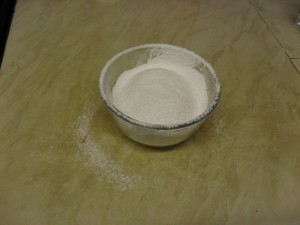
My flat mate calls the bits around the edges of the bowl “making a mess”. I call it “preparing the surface”.
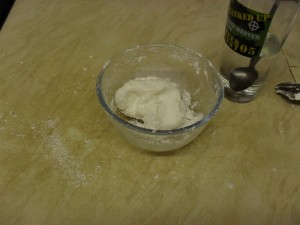
Drop one teaspoon of water into the sugar and work into the mixture with a fork. Don’t use your hands as it will stick. Keep adding tiny amounts of water, eventually a drop at a time until the mixture is blended.
Once it is all in one lump, and it is not too sticky, you can finish kneading it with your hands. Remember the surface should be very dry. The sugar on the surface is just there to mop up any moisture. If it is too crumbly, make a pit in the middle of the ball, add a drop, close it up and hope it doesn’t reach the outside before blending. If you put it on the outside it will stick to everything.
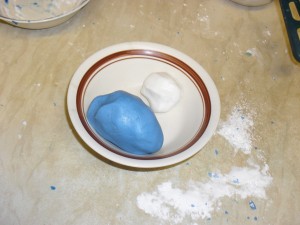
Take three quarters to a separate ball. In a bowl, blend about 2ml of blue icing dye and more sugar, until it has a similar consistency to your original ball. you may have to repeat the process to make it more blue.
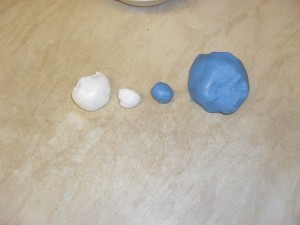
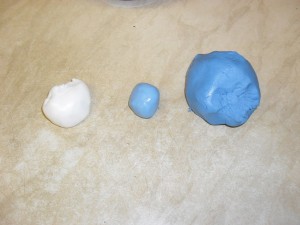
Take a piece of the two balls, and blend together.
To get a good in between blue I needed to use two parts white to one part blue.
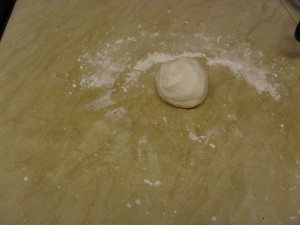
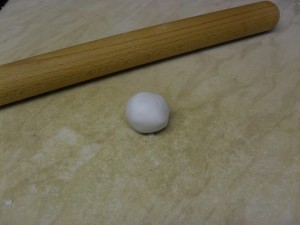
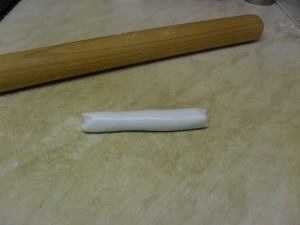
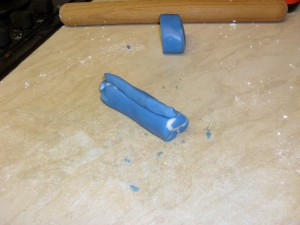
Now all the balls are finished, onto the shaping. Here is an example with the white. You can see my rolling pin in the background. Don’t use it, it messes things up.
Instead roll out to make an icing sausage.
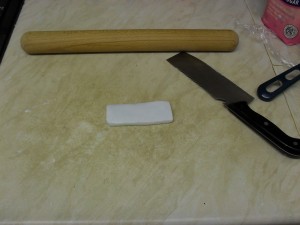
Then use a flat edge to press it down into a rectangle. I used my clever. Use the same flat edge to pat the sides into a neat rectangle. It needs to be longer than the one shown.
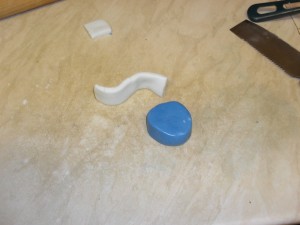
Cut a piece off the end for the cross . You can see how it forms the Fedora f. You also need: cylinder (like one below) cut it into four, two dark blue strips same size as the white one, a two thirds length light blue strip and some left over dark blue icing.
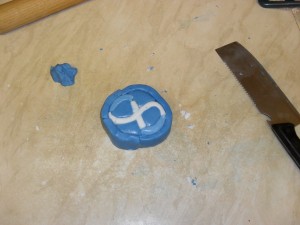
Two of the cylinder slices need to have their corners rounded to make tear drop shapes. Time is of the essence here as you don’t want parts to dry out while you are making others. Start with the tear drops and curl the white around them. Add the small white and light blue strips. Add the two remaining cylinder slices and smooth them to the infinity symbol. Finally, surround the whole thing with the two blue strips (if it was one strip it would crumble).
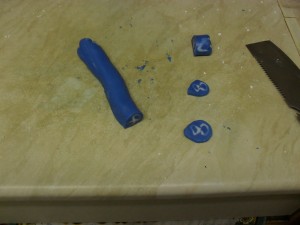
While it is still warm, you can start stretching it. Start by squeezing the whole thing between your hands from all sides until it becomes sufficiently long to roll. Then start rolling it very slowly, evenly and gently (this is not dough, no long starch and protein strings). Here I cut it into two as I wanted two different sizes. Once it is the desired size, form a small strip with the left over blue and continue rolling back and forth without destroying the ridge.
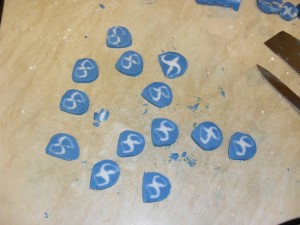
Don’t do what I did and cut them straight away. Put the whole roll in the fridge for 10 minutes to let it firm up. The ones at the ends will be somewhat malformed.
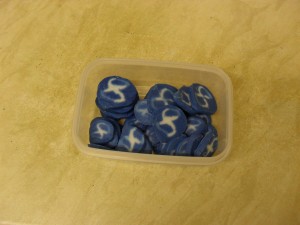
You can see that they become misshapen if you cut while it is still soft, but they are easy to reshape. Don’t leave them on the work surface, get them onto some tin foil and into an warm oven to dry out. An hour at 50 degrees Celsius made them sufficiently crumbly to make them not stick together in a storage box.
These will last forever so long as they don’t get wet. You can have them in their crumbly state stuck into ice-cream, or add a few drops of vanilla essence which will make them soft on top of a cupcake.
