Glastonbury to Bath
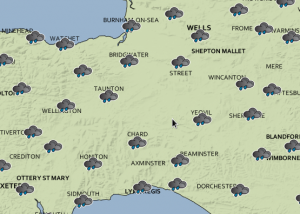
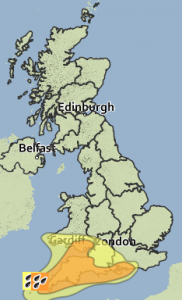
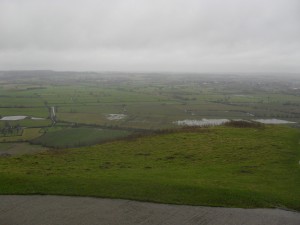
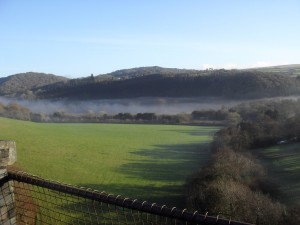
More rain. Lots and lots of rain. Leaving the flat swamp lands I could see the drainage ditches filled to within a few centimetres of the level of the road. I suspect the rain today will have covered them. Scary is that once the road is covered in water, even if it is just a centimeter deep, you can’t tell where the road edges are. So you can happily cycle into the ditch on the side.
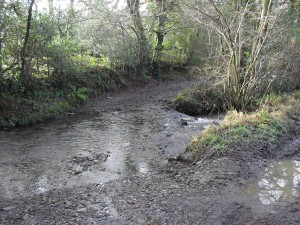
Up in the hills, the situation wasn’t much better. Crossing things like this takes a bit of faith as you dont know what is under the water, and while clipped in, falling sideways will be disaster. FYI, it was deeper than my pedals.
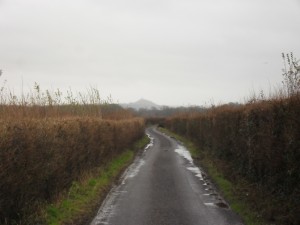
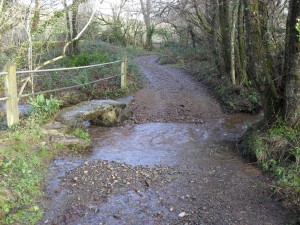
Trying to avoid the puddles gets pointless after a while once your clothes are saturated with water.
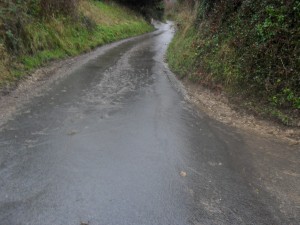
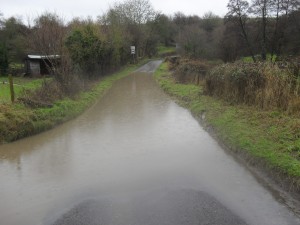
And the roads turn into streams.
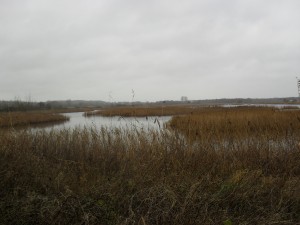
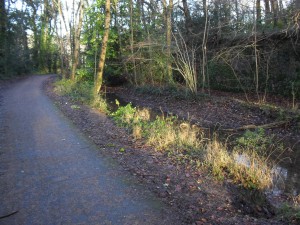
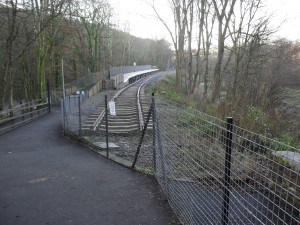
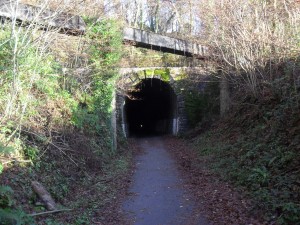
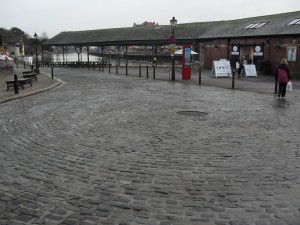
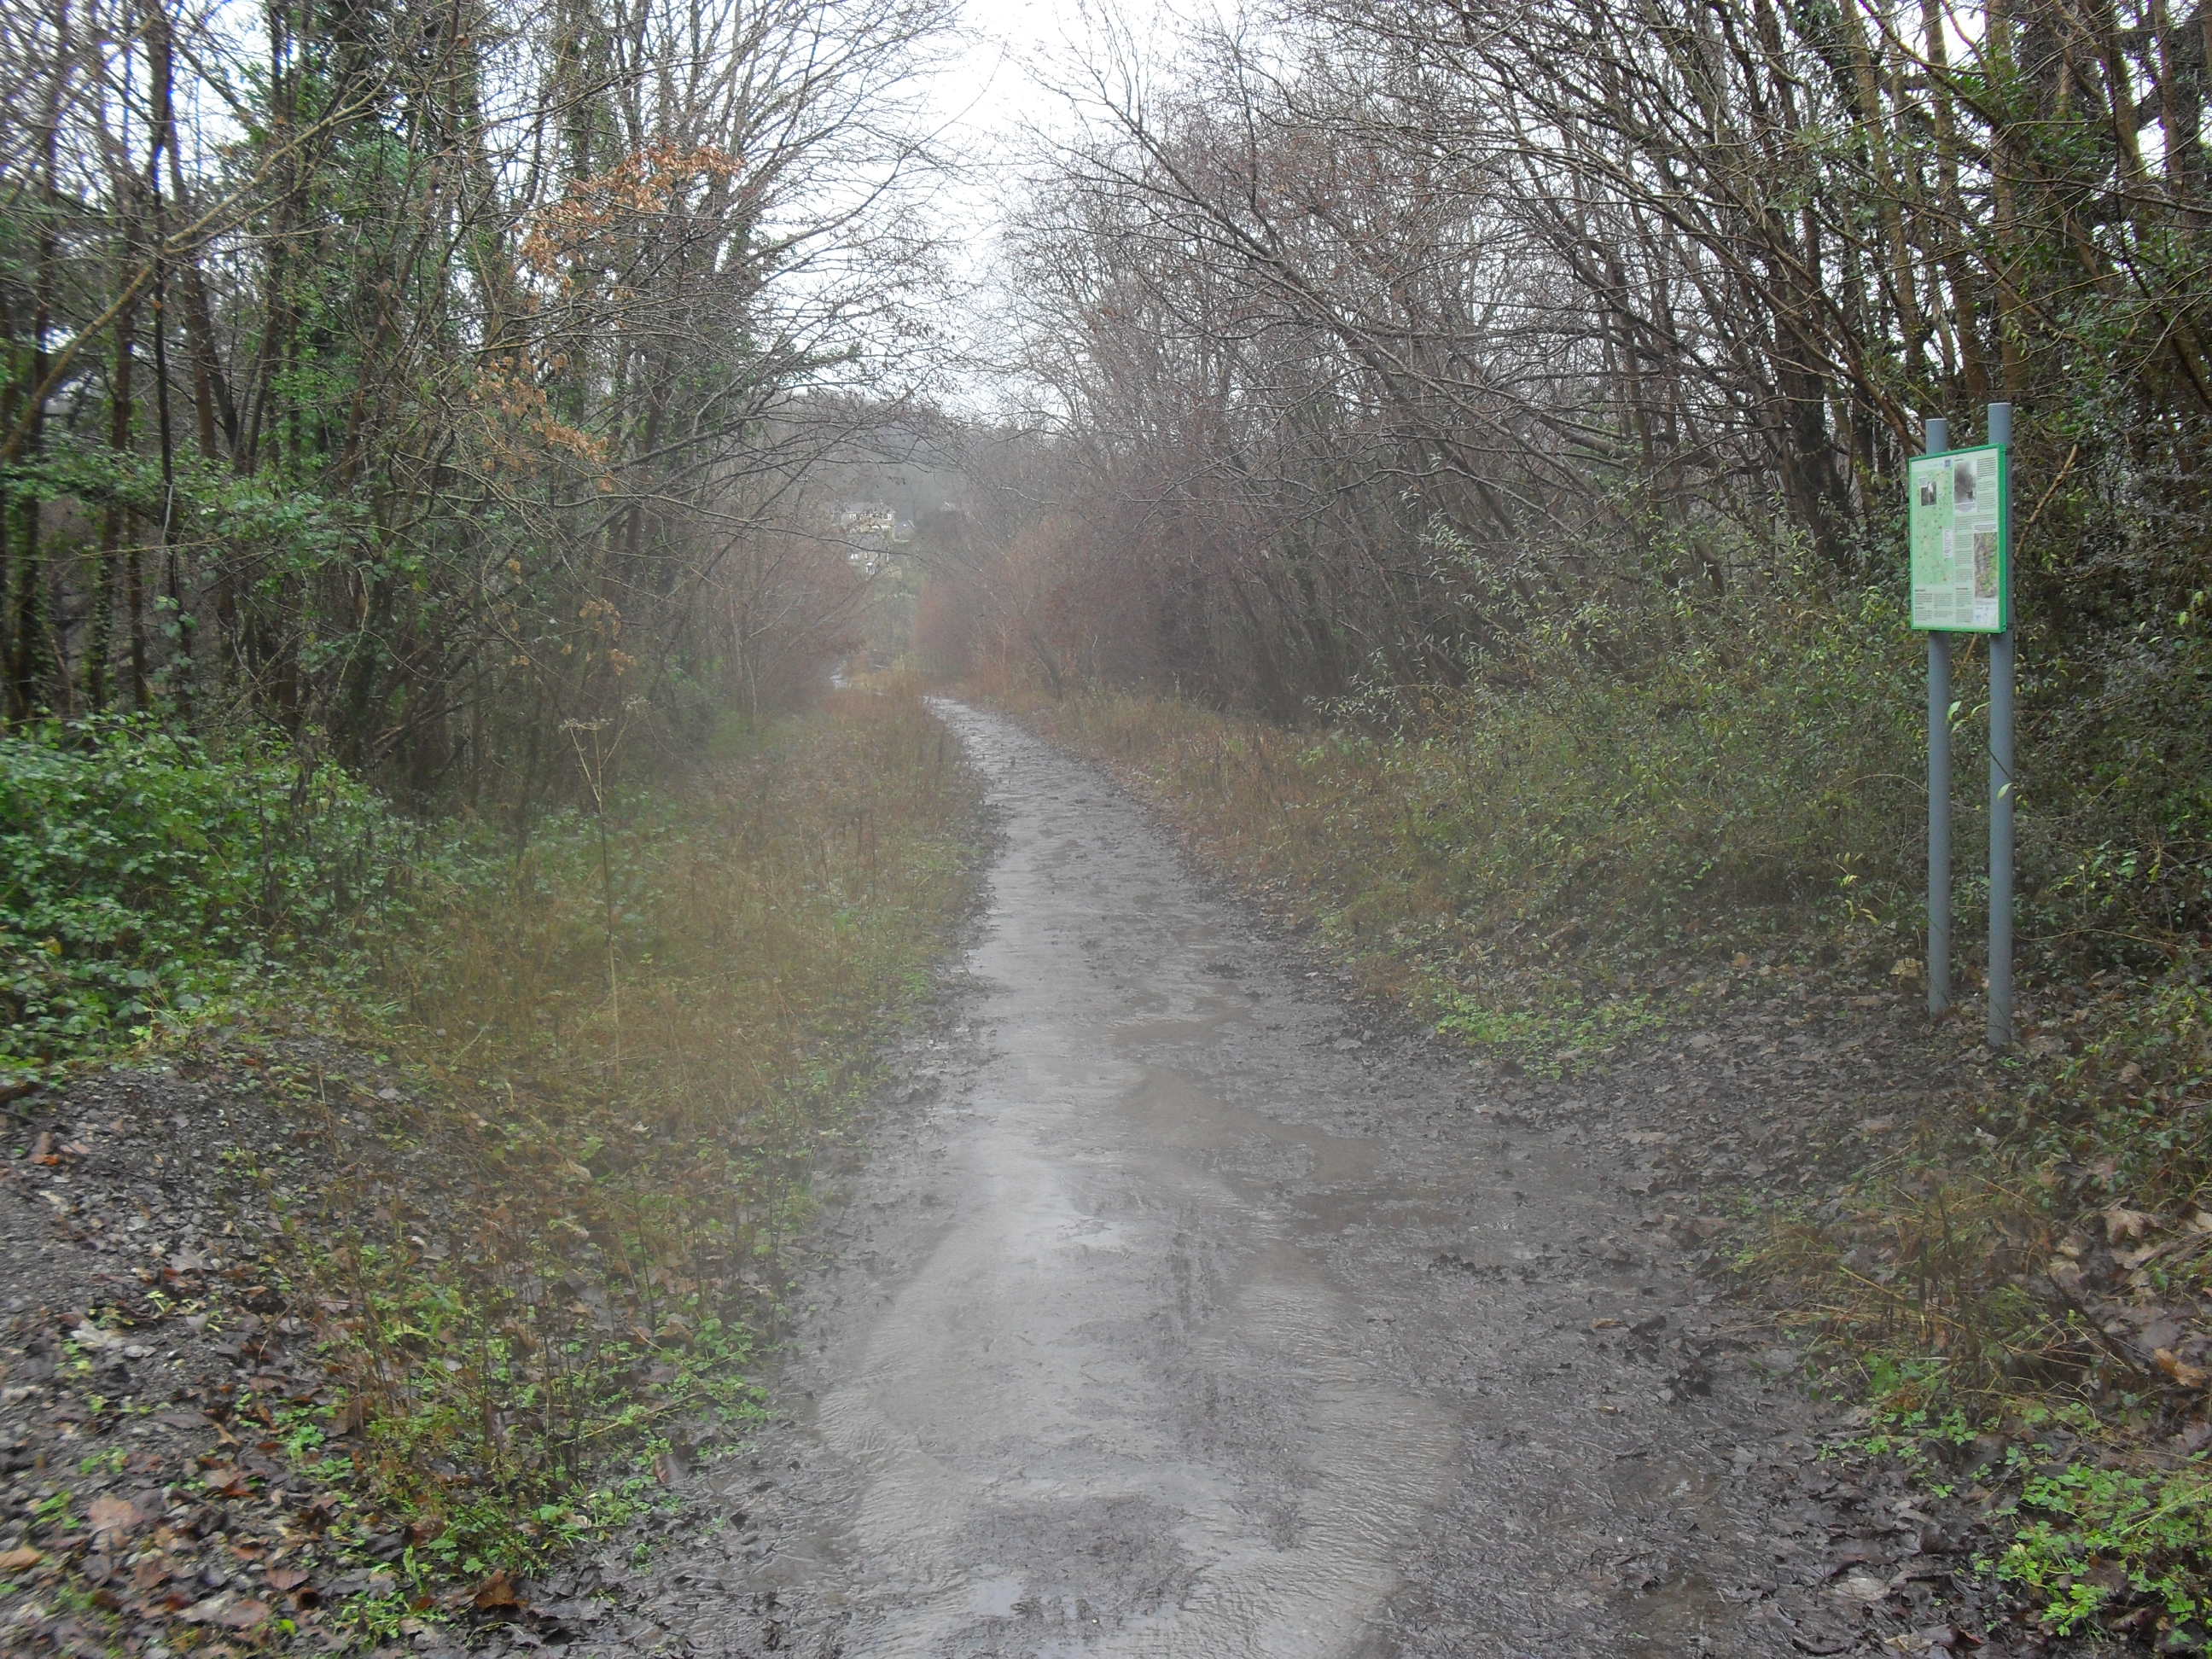
Today I was trying to find some more old railway lines.
They did minimal changes to the lines. Here you can see an old station. In other places they didn’t even dig up the stone railway sleepers, just chucking more rocks on top.
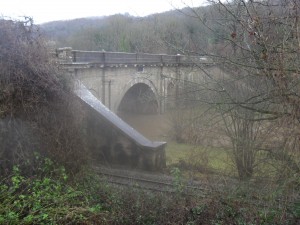
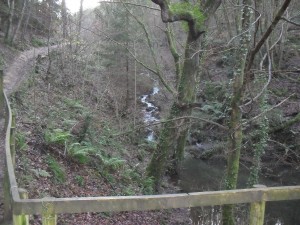
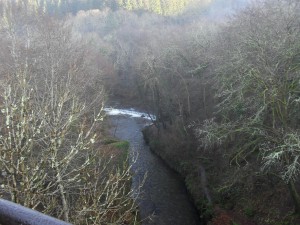
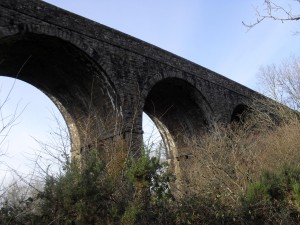
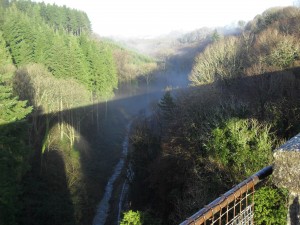
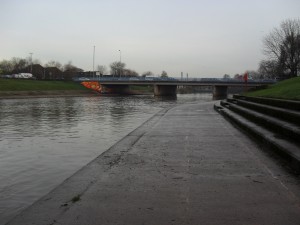
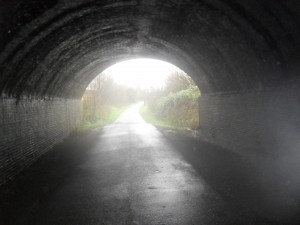
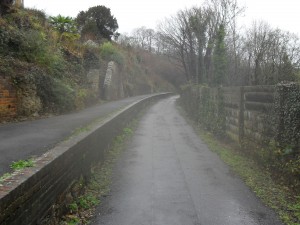
Riding along the rain line, the route takes me up to this bridge.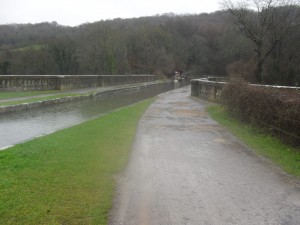
The road on top is so flooded…
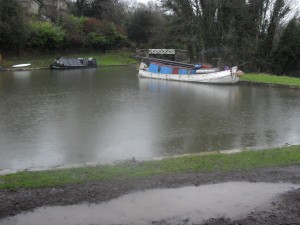
people started to taking their canal boats along them.
I am promised no rain tomorrow, but I am getting a bit of a cold, and riding in waterlogged clothes soaked to the bone didn’t help. Tomorrow I will do Salisbury to somewhere past Southampton.